When crafting detailed miniature models, realism is key to bringing your scene to life. If you’re building a model racetrack, urban streets, or even a city diorama, one of the most important elements is the road surface. A lifelike road can elevate your entire scene, making your miniature world feel more authentic. So, if you’re wondering what grit sandpaper looks like 1/64 scale asphalt, you’ve come to the right place! This guide will teach you everything you need to know about choosing the right grit, preparing your sandpaper, and adding realistic details to your miniature roads.
Why Sandpaper Texture Matters for Scale Models
The texture of roads in miniature models is crucial for achieving a realistic look. Real-life roads come in various textures, from smooth highways to rough, worn-down city streets. Sandpaper is one of the best tools for replicating this texture because it’s easily available, customizable, and provides a consistent surface texture that mimics real asphalt.
When you use the right grit sandpaper, you can achieve the look of weathered or freshly paved roads depending on your project’s needs. Additionally, sandpaper allows for fine control over the texture, making it easier to match the scale of your model. That’s why knowing what grit sandpaper looks like 1/64 scale asphalt is essential for model builders looking for authenticity.
Choosing the Right Grit Sandpaper for 1/64 Scale Asphalt
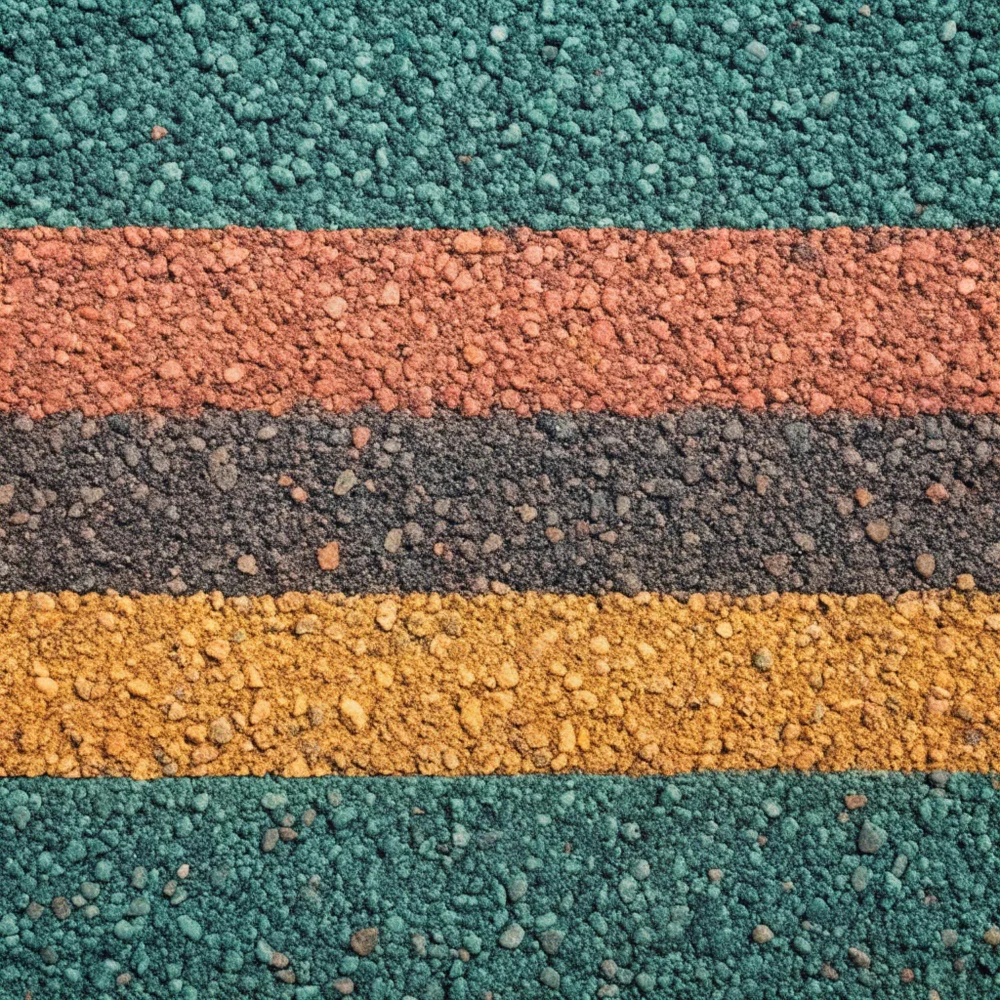
Understanding what grit sandpaper looks like 1/64 scale asphalt is the first step in creating a miniature road surface. The grit number on sandpaper tells you how coarse or fine the texture is, and different grits will create different types of asphalt textures. For 1/64 scale models, it’s important to choose a grit that reflects the roughness or smoothness of the road, while also considering the scale of your model.
Grit Recommendations for 1/64 Scale Asphalt
- Fine Grit (120-150): This grit is perfect for creating a freshly paved road. It has a smooth texture that closely resembles newly laid asphalt. If you’re making a model of a highway or a pristine race track, fine grit sandpaper will give you that clean, smooth look.
- Medium Grit (220-320): This is the most commonly used grit for creating everyday roads. It provides a balanced texture that works well for roads that are in good condition but show signs of use. If you’re making a model of a city street or suburban neighborhood, this grit will give your road a realistic look.
- Coarse Grit (400-600): Use coarse grit for older, more weathered asphalt that has seen better days. Coarse grit sandpaper mimics rougher surfaces, which is perfect for replicating cracked or potholed roads. It’s ideal for roads in rural areas or places that have been in use for years.
Step-by-Step Guide to Simulating Asphalt with Sandpaper
Once you’ve selected the right grit, it’s time to prepare and apply the sandpaper to your model. Follow these steps to create a realistic 1/64 scale road using sandpaper.
1. Cut Your Sandpaper to Scale
The first step is to measure the area where the road will go. Use a ruler to ensure that the dimensions are accurate, as even a small discrepancy can affect the final look. Once you’ve measured your road, carefully cut the sandpaper using sharp scissors or a utility knife. It’s important to make clean, straight cuts to maintain the scale and proportion of your model.
2. Prepare the Base
Before applying the sandpaper, prepare the base for your road. Most modelers use foam board or balsa wood for this purpose, as they provide a stable and flexible surface. Make sure the base is sturdy enough to hold the sandpaper and will not warp over time.
3. Adhere the Sandpaper
Next, apply a light adhesive to the back of your sandpaper. You can use craft glue or double-sided tape to secure it in place. Be sure to spread the glue evenly to avoid wrinkles or air bubbles, which could distort the texture of the sandpaper. Once the glue is applied, press the sandpaper firmly onto the base and smooth it out.
4. Paint the Sandpaper
To make the sandpaper resemble real asphalt, you’ll need to paint it. Start by spraying the sandpaper with black or dark gray spray paint to achieve the base color of asphalt. For a more realistic look, you can use multiple layers of spray paint in varying shades of gray to mimic the color variations found in real-world asphalt.
5. Add Lines and Markings
Now it’s time to add the finishing touches. Use white or yellow acrylic paint to create lane markings, crosswalks, or parking spots on your road. A fine-tipped brush is best for creating straight, clean lines. If you want to give your markings a more weathered look, use a sponge to gently dab over the markings before the paint dries. This will create a faded effect, making your road look more authentic.
6. Weather the Surface
One of the most important aspects of making realistic roads is weathering. Real roads experience wear and tear, and your model roads should reflect this. To create the effect of aging, use dry brushing with light gray paint to highlight raised areas and add subtle texture. You can also use a textured sponge to dab gray, white, or brown paint onto the sandpaper, simulating dirt and grime that builds up on real asphalt over time.
Additionally, you can create cracks and potholes using a utility knife. Simply cut small slits into the sandpaper and paint them with darker gray or black to simulate damage to the road surface.
7. Seal Your Road
To protect your road and preserve the weathering effects, apply a coat of matte sealant. This will prevent the paint from chipping off and keep the surface looking fresh. Be sure to choose a matte finish to avoid any unwanted shine that could make the road look unrealistic.
Alternative Textures for 1/64 Scale Roads
While sandpaper is a popular choice, it’s not the only material you can use to create realistic roads. If you’re looking for other options, here are a few alternatives to consider:
- Textured Paint: You can use textured acrylic paint to create a rough road surface. While this method is quick, it may not offer the same level of control as sandpaper when it comes to texture.
- Modeling Clay: For highly detailed roads, you can use modeling clay to sculpt cracks, potholes, and other imperfections. This method requires more time and effort, but the results can be incredibly realistic.
- Cork Sheets: Cork sheets can be used for creating rougher, older asphalt surfaces. They provide a different texture than sandpaper and can be easily cut and shaped.
Budget-Friendly Ways to Create Realistic Asphalt
Creating realistic roads doesn’t have to break the bank. Here are a few tips for modelers on a budget:
- Repurpose Materials: Look for scrap materials around your home, such as old cardboard or textured paper, which can be repurposed as road surfaces.
- DIY Textures: If you don’t have sandpaper, you can create your own textured surfaces using household items like fabric or textured wallpaper.
- Bulk Buying: If you plan on making multiple models, buying sandpaper in bulk can save you money in the long run.
Maintenance Tips for Long-Lasting Model Roads
Once your road is complete, it’s important to maintain it to keep it looking fresh. Here are a few maintenance tips to ensure your model roads stay in great condition:
- Dust Regularly: Use a soft brush or microfiber cloth to remove dust from your roads, as dust can dull the finish and make the surface look unrealistic.
- Touch Up Paint: Over time, the paint on your roads may fade or chip. Use the same paints to touch up any areas that need it.
- Reapply Sealant: If the sealant wears off, consider reapplying a fresh coat to protect the weathering effects.
Conclusion: Bringing Your Dioramas to Life
Understanding what grit sandpaper looks like 1/64 scale asphalt is essential for creating realistic roads in your model scenes. By choosing the right grit, applying sandpaper properly, and adding weathering and details, you can craft roads that look just like real asphalt. Whether you’re building a racetrack or a city street, the right road surface will enhance the authenticity of your diorama and make your miniature world come to life.
Now that you know the steps and techniques for creating 1/64 scale asphalt, it’s time to get started! Experiment with different grits, textures, and weathering methods to find the perfect look for your model roads. With the right tools and techniques, your miniature roads will be as realistic as the real thing.